Final Render
- downesville

- May 18, 2021
- 2 min read
Updated: Jun 5, 2021
So... house progress came to a screeching halt for a few months due to a series of health crises in the family, but we’re doing pretty well again and have returned to throwing all the time we can free up into our house build.
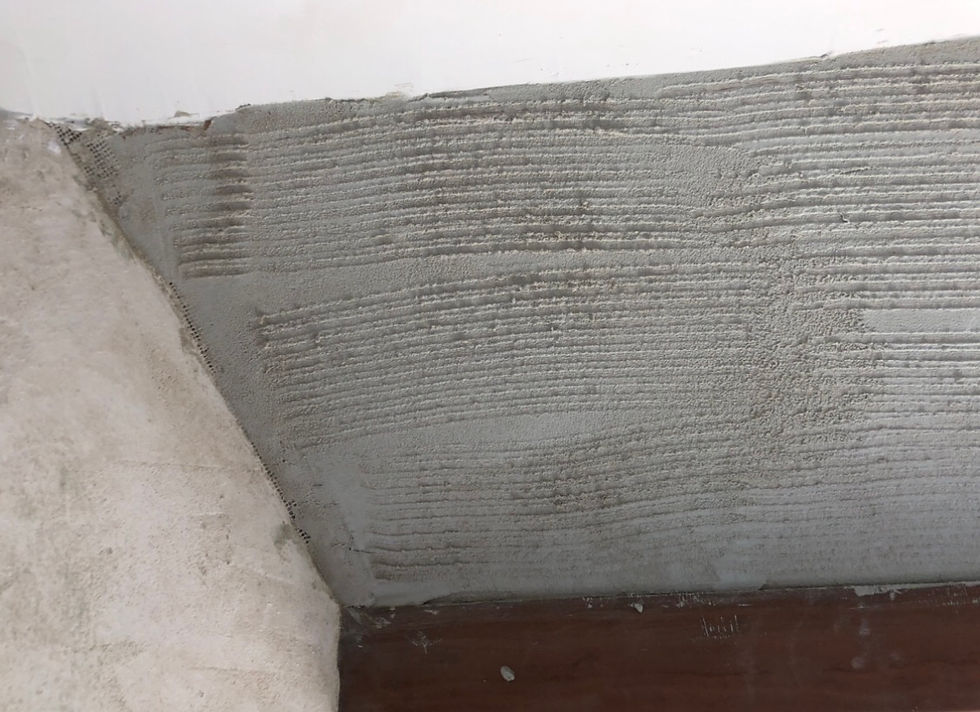
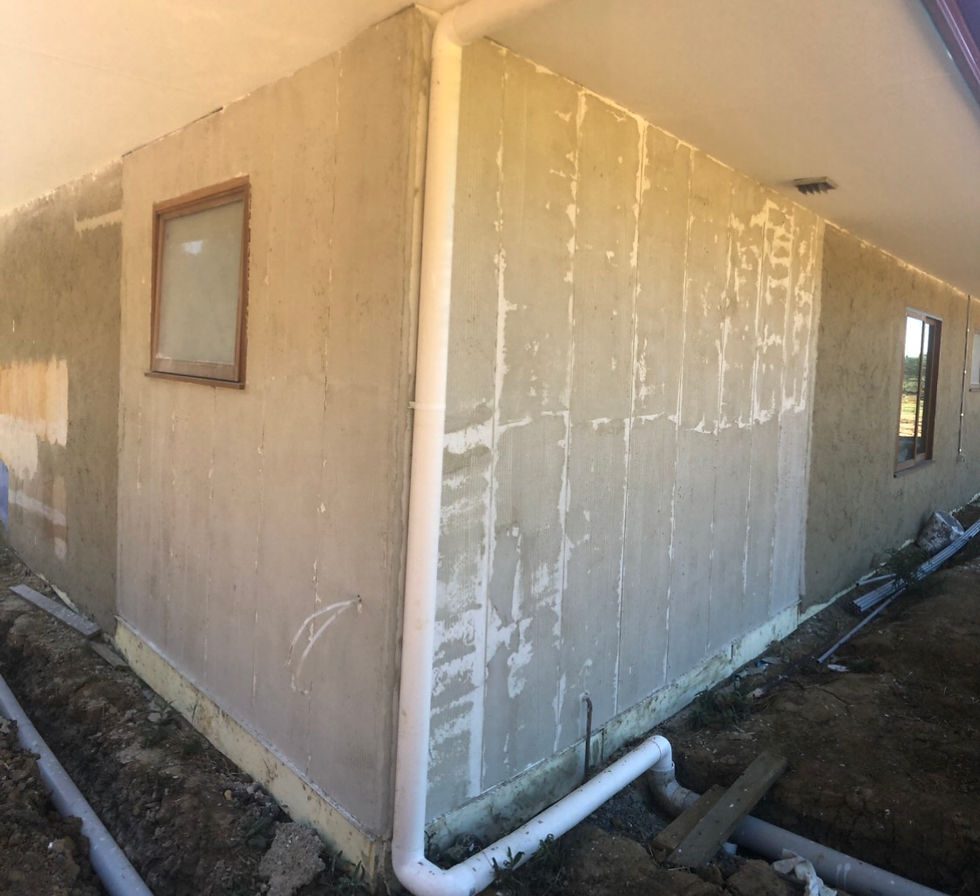
We also had some de-lamination issues, which took time to pull down, re-prep, and re-render. Where the render was applied over plyboard, we scored the wood surface and painted on a mix of glue and sand. This proved to be insufficient to achieve a good key between board and render. we considered attaching chicken wire over all the boards needing render, but decided instead to go with a cement based polymer render, which the lime
render will adhere properly to and which attached really well to the plyboard, also to a couple of internal plasterboard walls we wanted to render, and to the outside of our ensuite where there is a break in the straw bale walls but we wanted the render to continue unbroken across the bale walls and fibre cement sheeting walls.

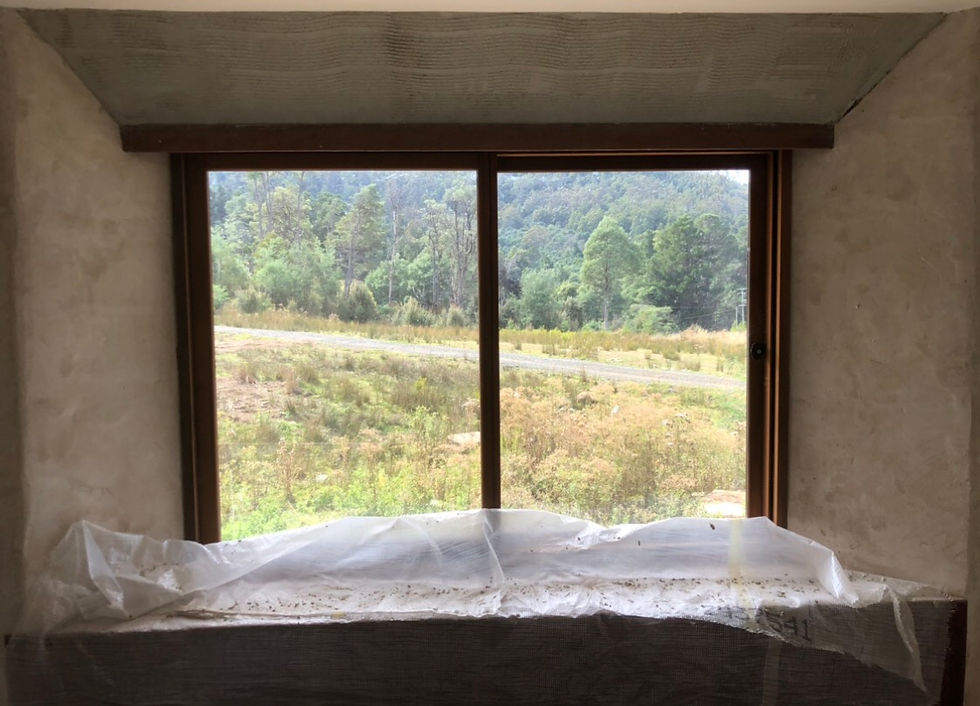
With the inside render now done, we’ve called in a plasterer to do our ceilings. On to the outside render for me... which starts with slaking quicklime to turn it into putty.

I love mixing the colour into the lime
putty for our render! I think it’s at its most beautiful when the white lime, our own red soil, and the black oxide are marbled through each other, but not actually mixed up.
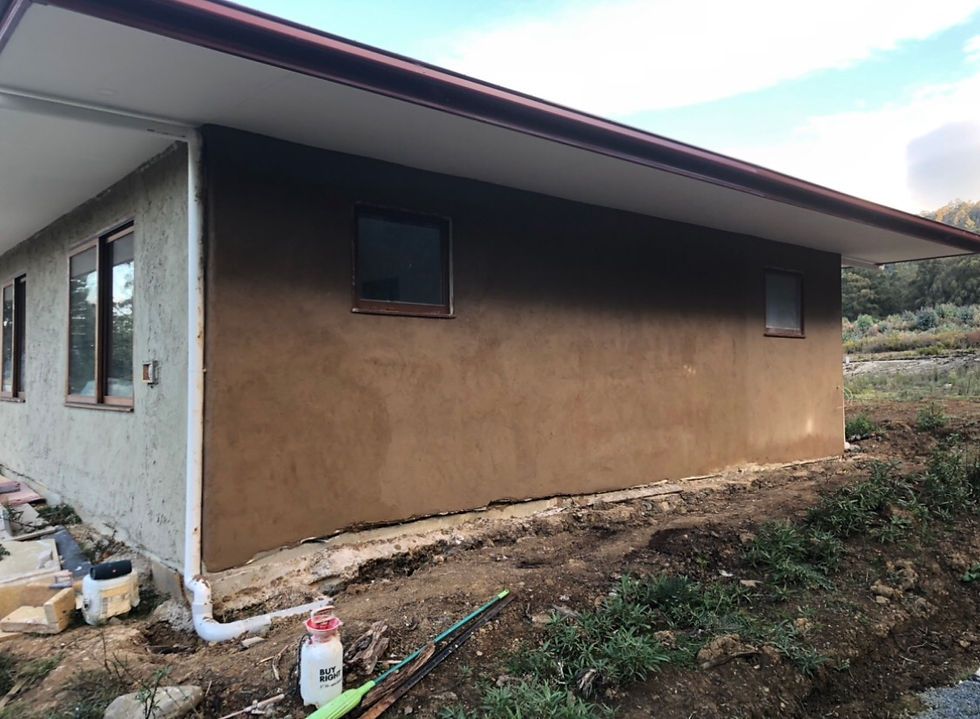
The wet lime render, as always, is much darker than the colour it dries to, you can even see the progression as you render a wall, one end is starting to dry paler while the most recently applied render is still very wet and dark.

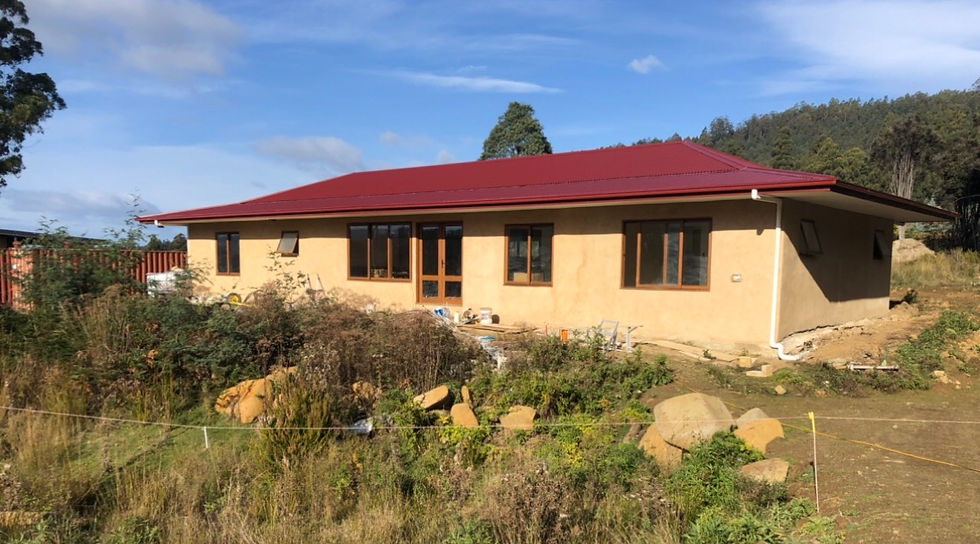
Dun!
Still have to render the back of the house with this final coat.


Comments